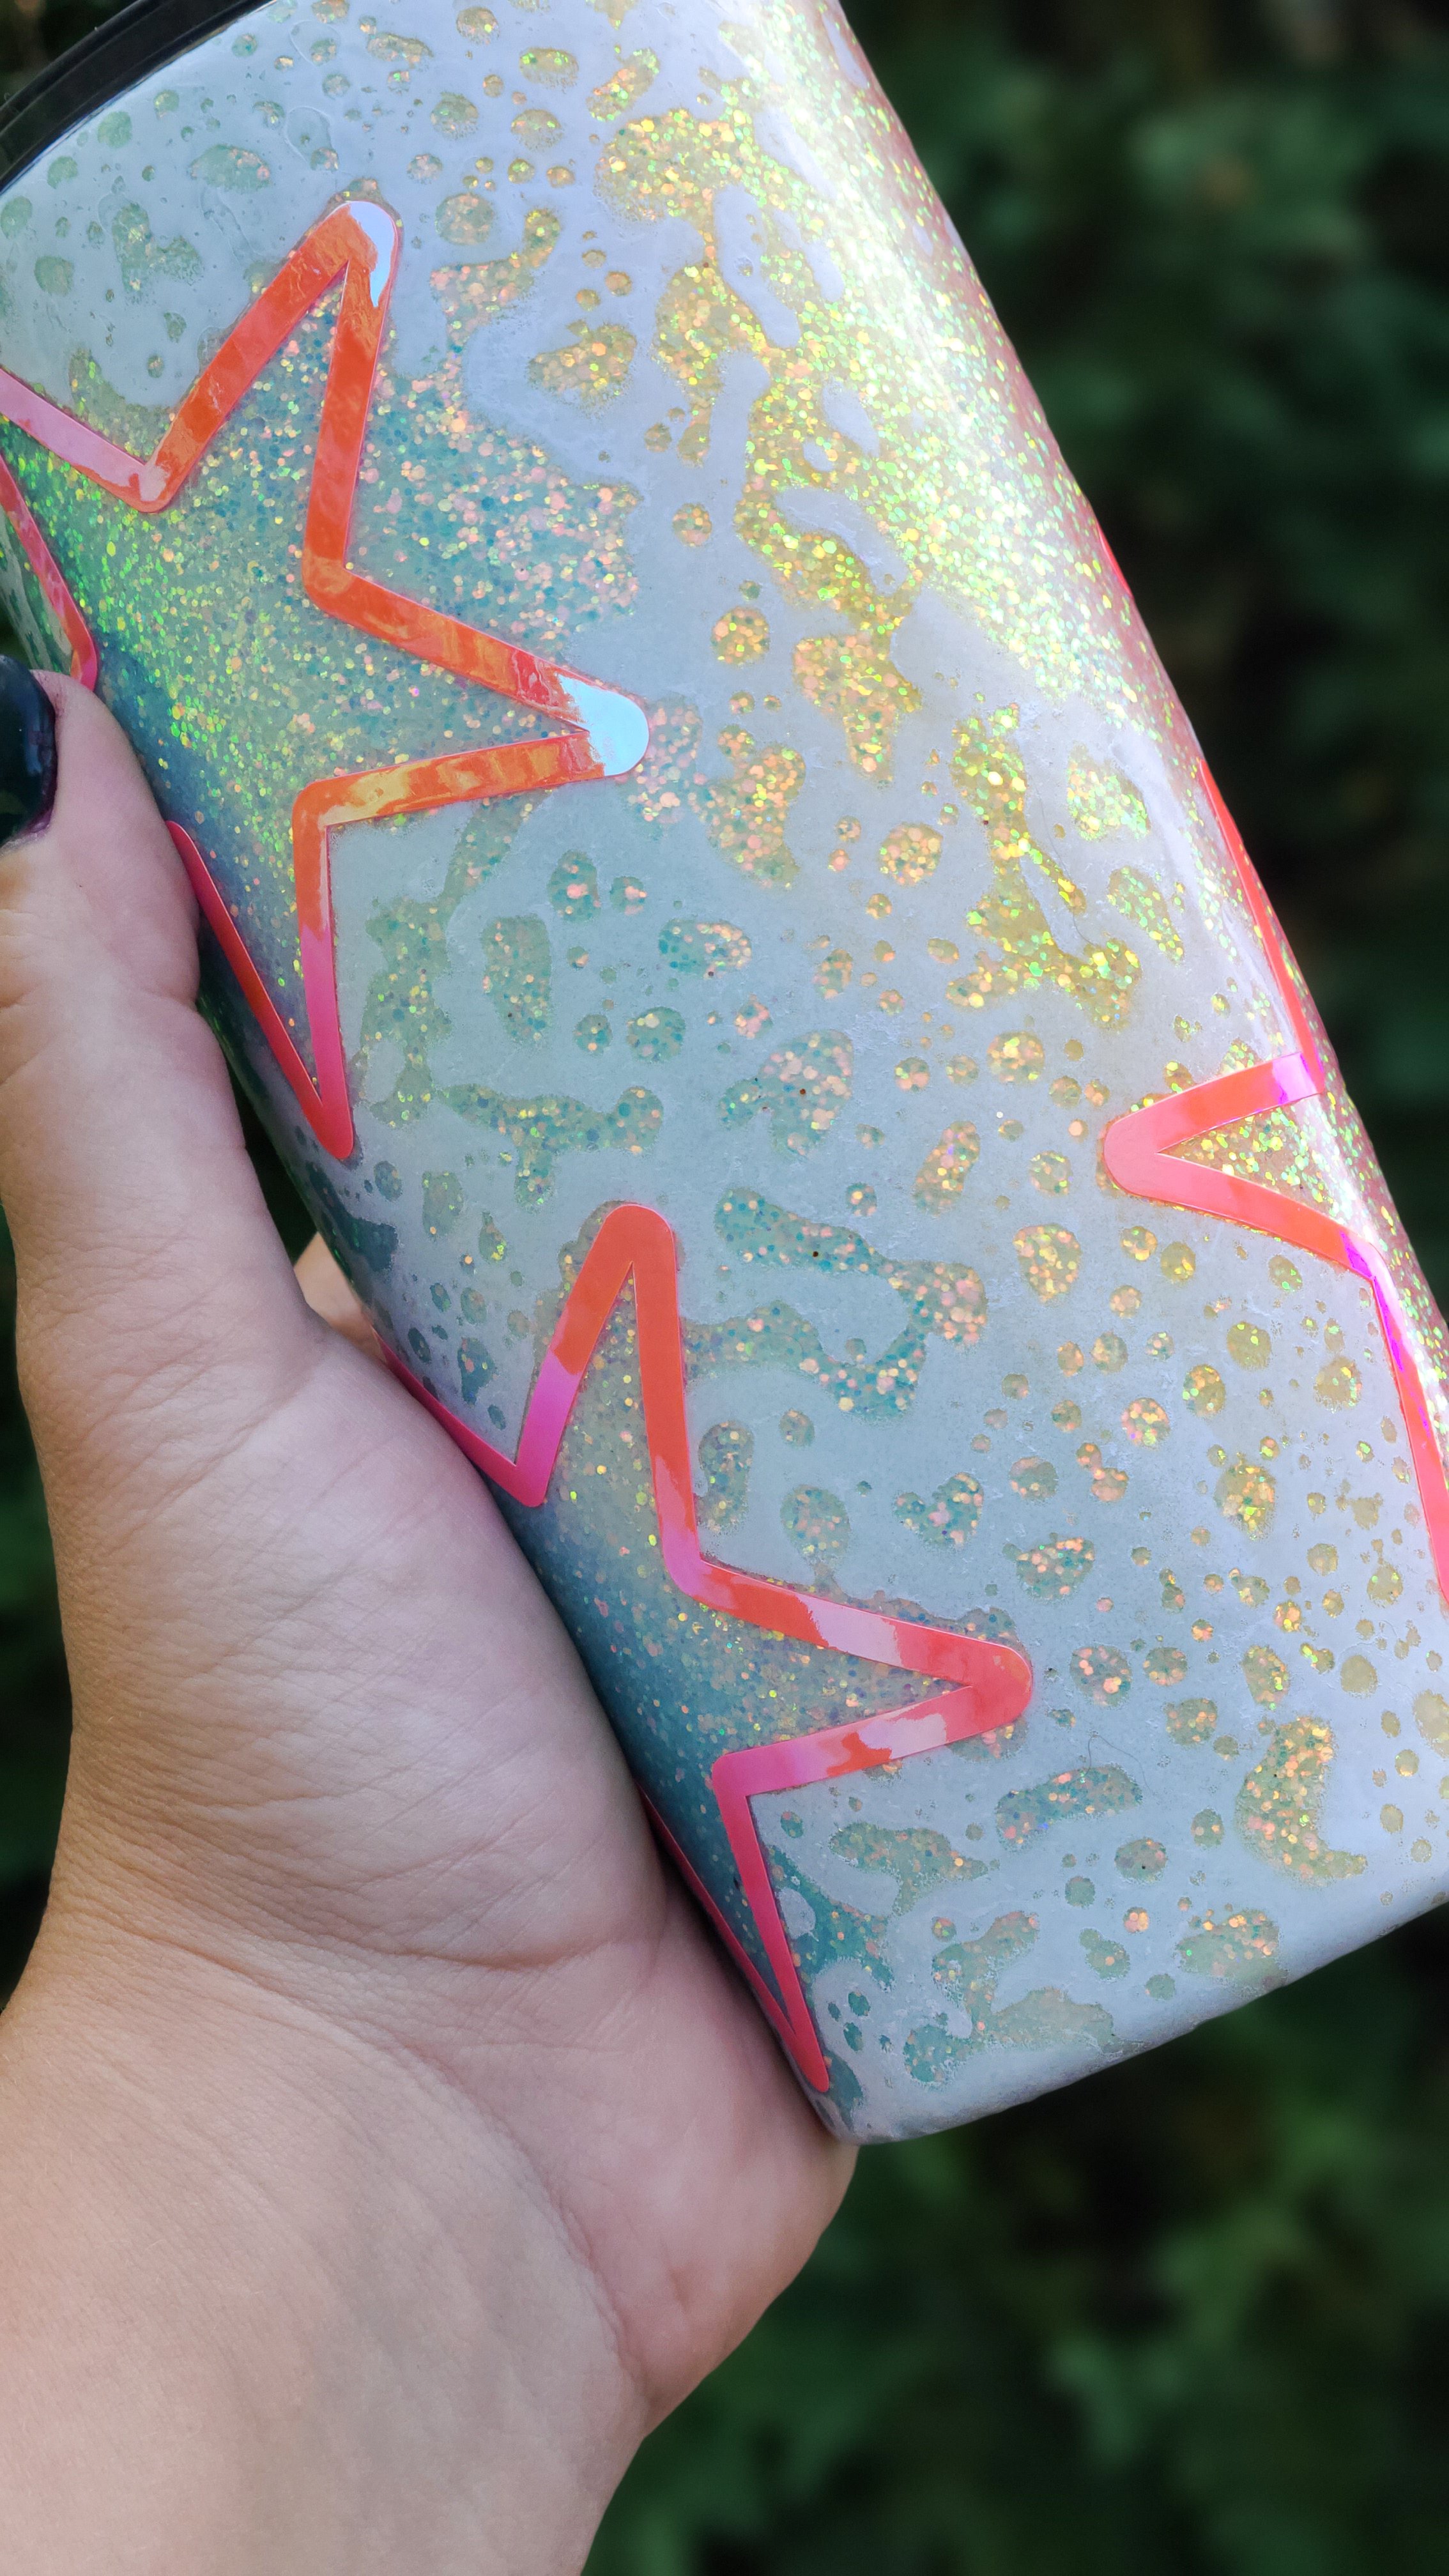
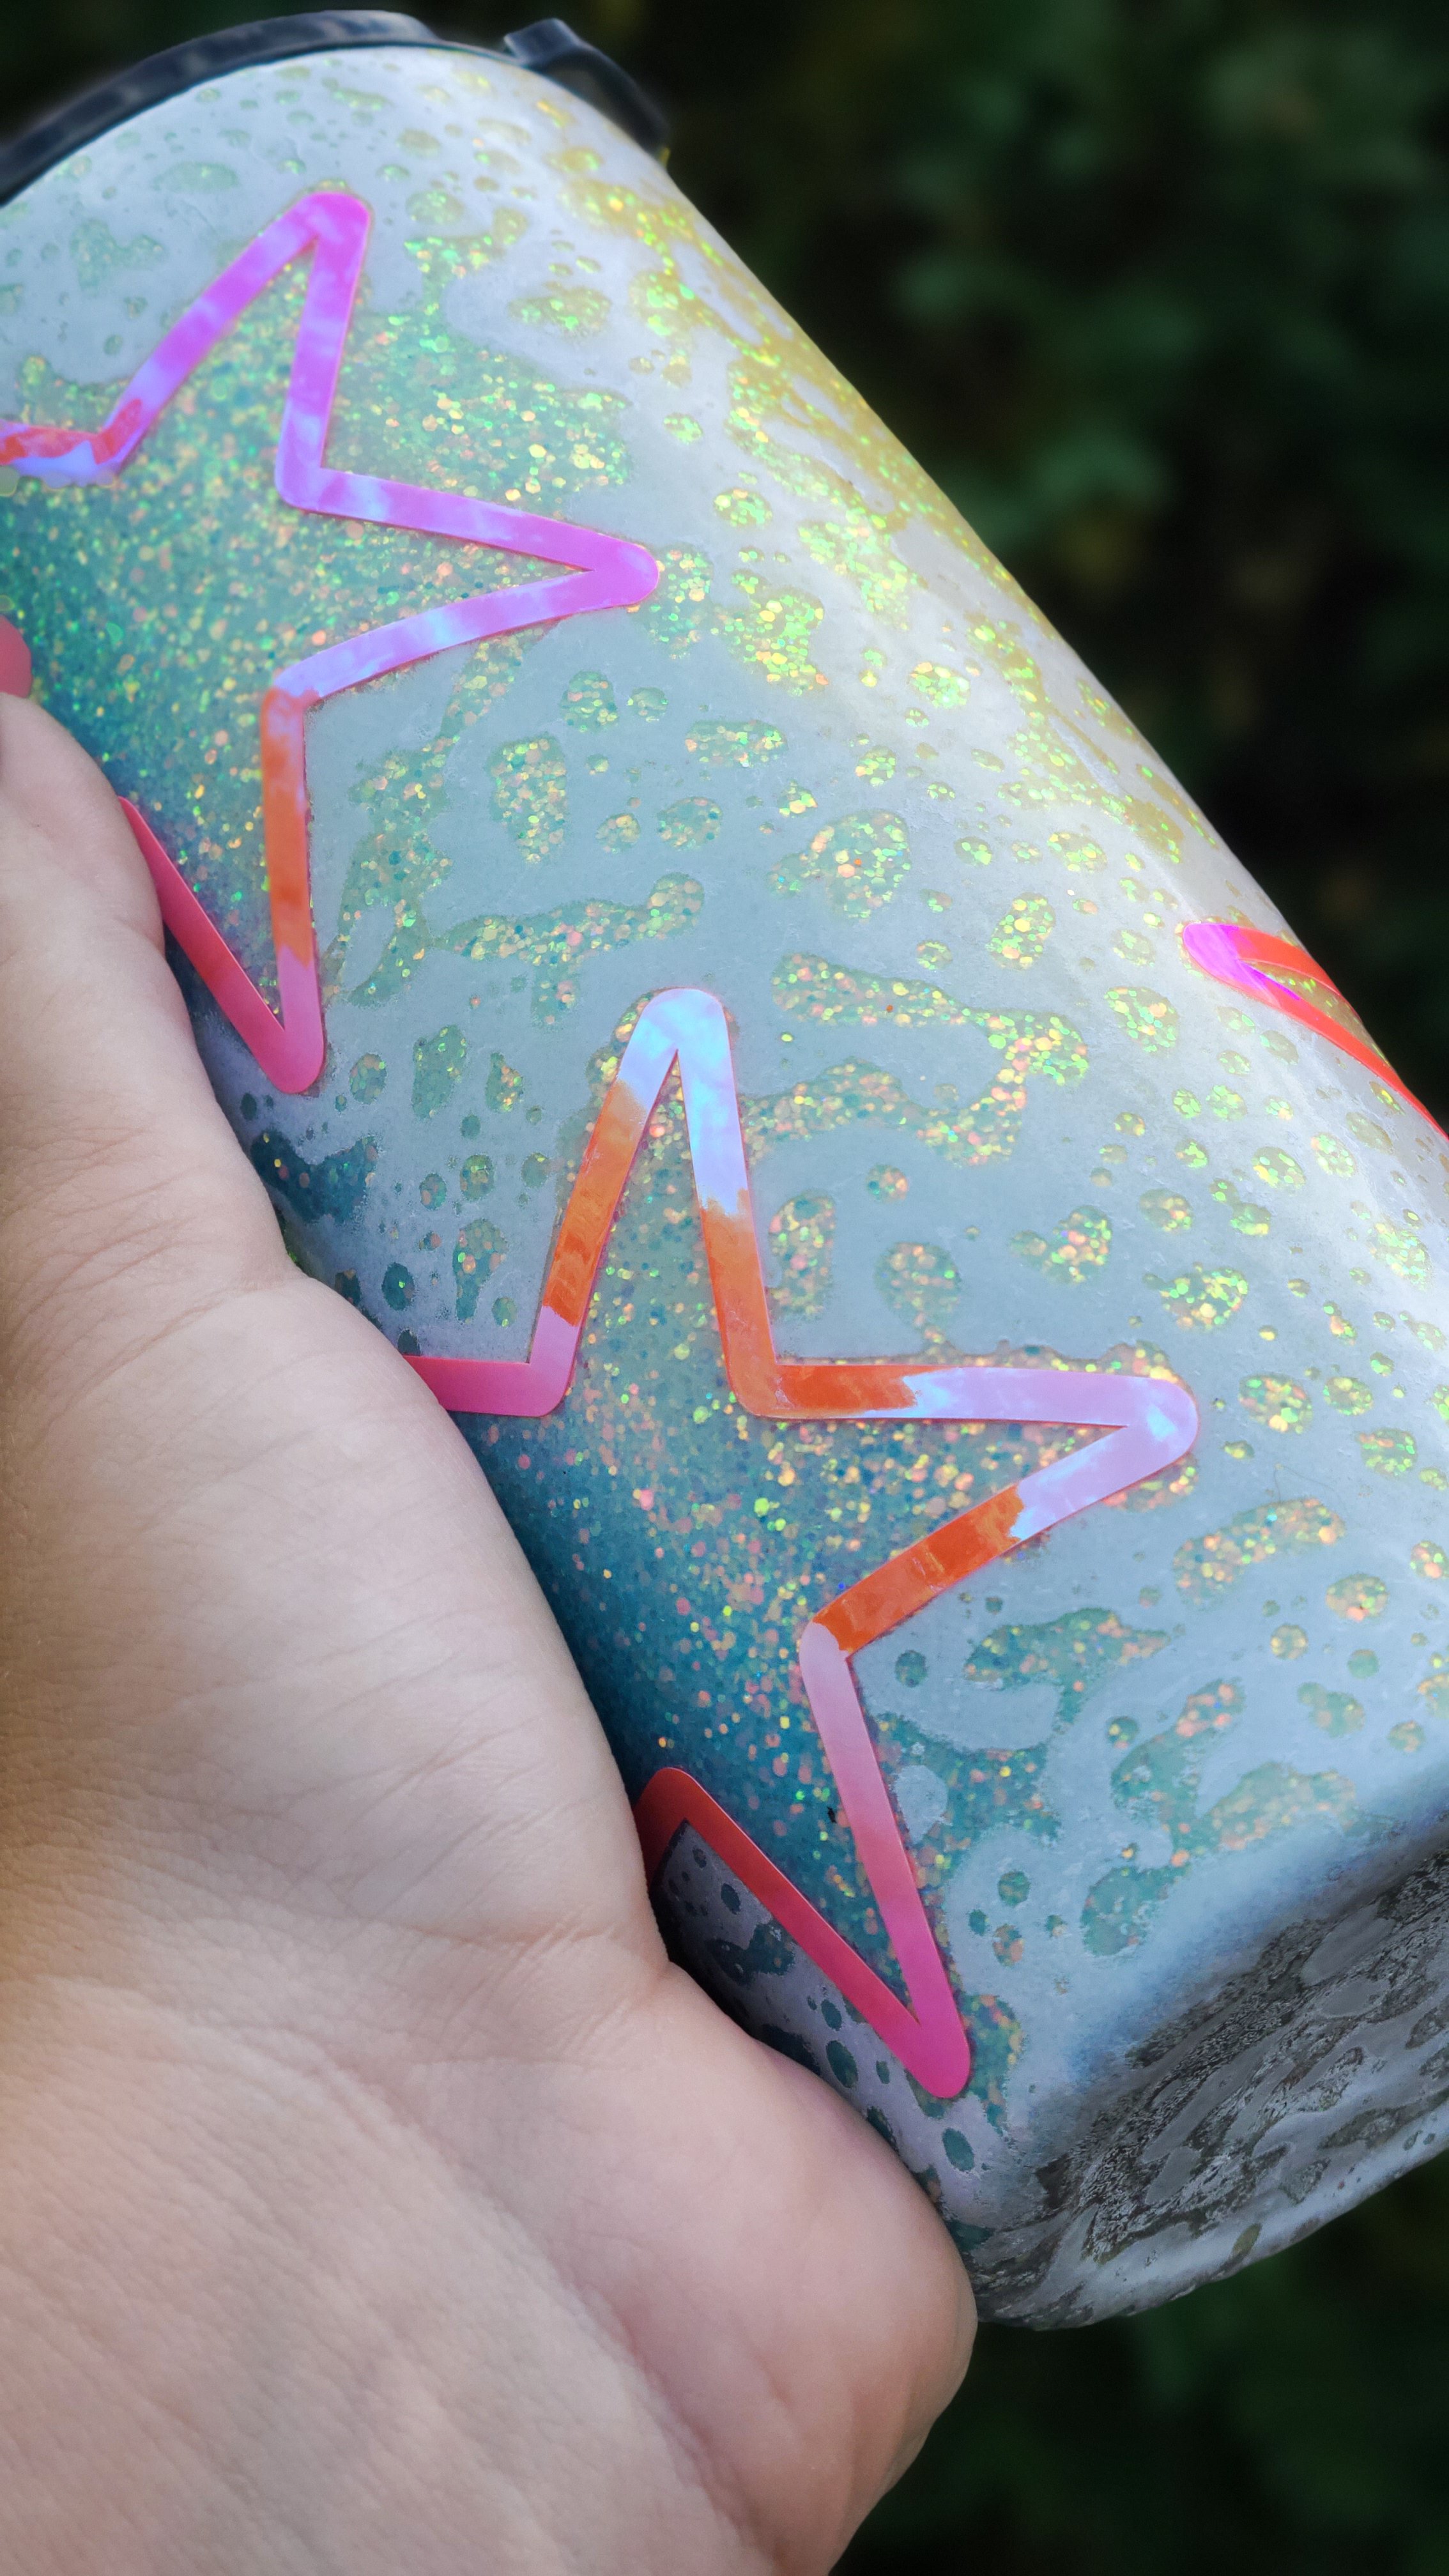
Dawn Power Wash Tumbler Tutorial
Using the Dawn Power Wash technique is an easy and effective way to add a fun a pattern and more dimension to your tumblers.
Recommended Supplies
Dawn Powerwash
Rustoleum 2x Clear Spray Paint
Stainless Steel Tumblers (discount code: alisoncrafts)
Glitzy Kreations Glitter (Discount Code: alison10)
Glitter Dipped Sips Glitter (Discount Code: alisoncrafts10)
Steps
Step 1: Prep Your Surface & Add Base Coat
Prep is important for any project. Sand with 220 Grit Sand paper to prep your tumbler. Watch here for a demonstration. . Paint on the base coat of your choice. It helps to match the color of your glitter. Let dry.
Step 2: Apply & Seal Glitter.
Use brite tone or glitter glue to apply glitter. Let Dry & seal with Glitter Glue. Let dry 2 hours.
Step 3: Build up coats of brite tone until smooth
Apply coats of brite tone every 4 hours. Sand every 3-4 coats with 400 grit sand paper until smooth.
Step 4: Spray with Clear spray Paint
Spray on 2 coats of clear spray paint about 30 minutes apart. Let dry for about an hour.
Step 5: Powerwash
spray on your dawn powerwash and immediately spray your color spray paint on top. Rinse off with a light stream of water.
Remember, more powerwash = less spray paint and less powerwash = more spray paint.
Step 6: Layer Brite Tone & Add Decals
Do a few coats of brite tone before applying decals.
Step 7: Layer Brite Tone
Apply 3-4 coats of Brite Tone letting each coat dry for 4 hours.
After you do 3-4 coats of BT, let it dry over night. Then do a light sand with 400 grit sand paper ONLY OVER THE VINYL. then follow up with a few more coats of BT until you are happy with how it looks!
Step 8: Clean the Rim
Once you’re satisfied with your finish, clean the rim! Let the cup dry for 5 days before giving it to it’s new home!
Watch Full Tutorial on YouTube:


