Rhinestone Pen Tutorial For Beginners
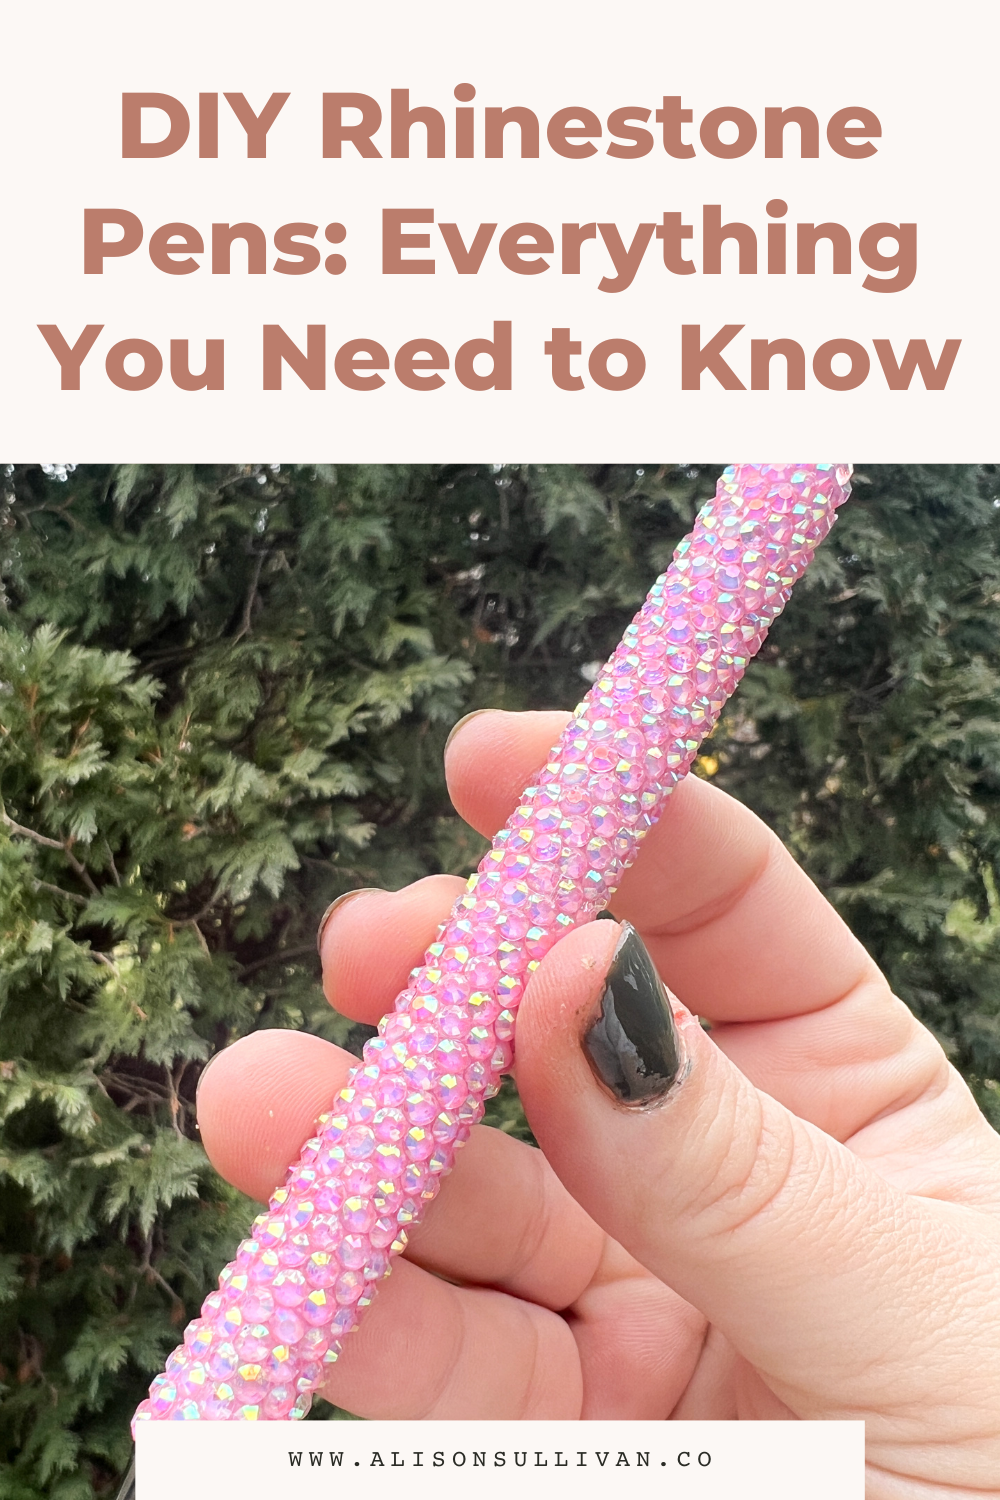
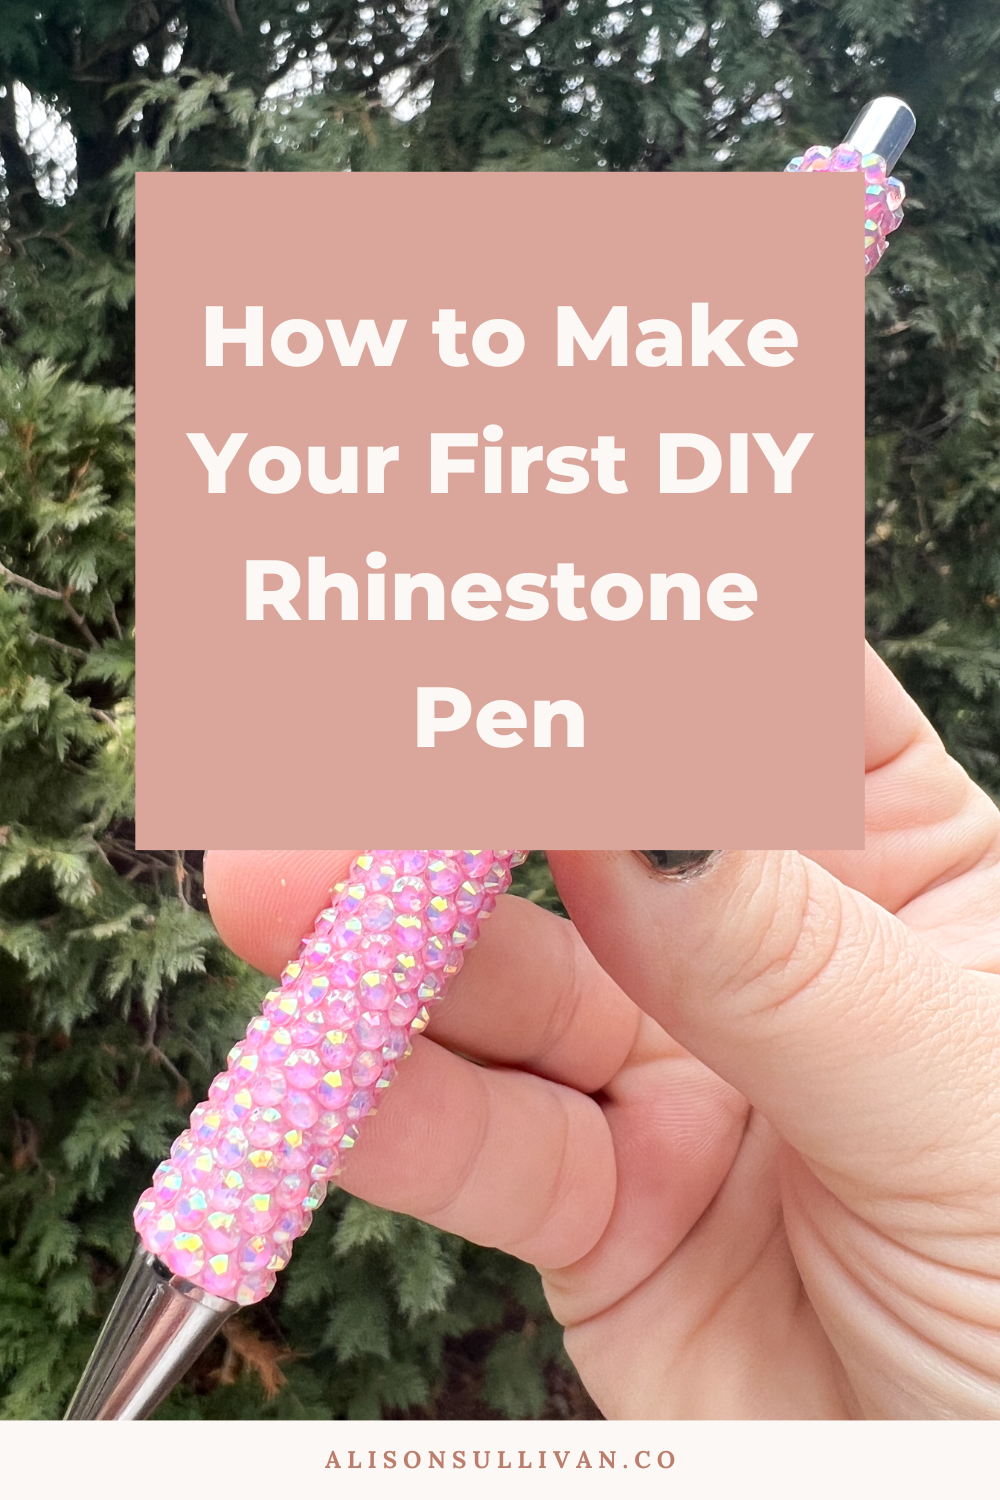
Rhinestone pens are a great project to get started with for beginners. Honestly, who doesn’t love buying cute pens. So if you’re looking to create something that you eventually want to sell or create really great gifts that people actually like, this is the tutorial for you. We will be covering everything you need to know about Rhinestone Pens!
How I Started Making Rhinestone Pens
My first Rhinestone Tumbler was a 20 ounce Tumbler and it took me over 10 hours of just actually placing stones to finish up that cup. And I absolutely love it and I still use it to this day, although it took a lot of time. And while with experience and doing it more, I have gotten faster and more efficient.
I love making pens because they are so much faster.
So let’s jump into making a rhinestone pen starting with a single color and the Honeycomb method.
DIY Rhinestone Pen Supplies
The first thing that we need to do is choose the right pen for our project. It doesn't really matter what pen you choose because honestly, you really can put rhinestones on anything!
I recommend pens that can be easily taken apart and refilled with ink. You want to have a pen that can last a while especially if you are going to put in hours of time creating something this pretty, you really want it to last.
My two main choices that I recommend are an InkJoy Gel Pen, which you can get at Target, Walmart, Amazon and my second recommendation is a stainless steel pen. For my stainless steel pens, I purchase mine from Craft Haven and ultimately you will develop your own personal preference as well.
The Pros and Cons to The Different Pen Types
The cost of the InkJoy gel pens has gone up over the years, but they are really easy to take apart and really easy to find in the store which is definitely a plus. The stainless steel pens are really nice too.
For me, I like the stainless steel versus a rubber pen like the InkJoy pens because they have the potential to last a little bit longer. Another perk to the stainless steel pens is that the silver tip looks really sleek and nice whereas the InkJoys will always have a black tip.
I will say that the stainless steel pens are a little bit harder to take apart and refill. If you are gifting these pens or selling them you might want to film a quick video on how to refill the pens. Your future customers will really appreciate this extra step.
Rhinestone Size Recommendations
The next thing we need to decide are the rhinestones. I am using glass rhinestones for this project and I am using a three millimeter size stone. You can also find these as an SS 10, so either three millimeter or SS 10. Those mean the same thing. It's a nice small stone for something smaller like a pen. Although, keep in mind, if you are making a rhinestone Tumbler or a cup, something bigger you might want to go up to like an SS 16 or an SS 20 even, which is what I use mostly on my tumblers because the bigger the stone, the less stones you have to place.
Where to Find Rhinestones For Your Projects
I get all of my rhinestones from Glitzy Creations. Quita over there is like the best human. I love supporting her. She has an amazing selection of rhinestones and glitters. Shop rhinestones with code Alison10, https://glitzykreations.com/?ref=alisoncrafts
Rhinestone Project Glue Options
The other main tool that you need to decide is what glue you are going to use. There are a lot out there on the market.
The most common options are Supetite Fusion Tack, Liquid Fusion, and the CrystaLac Glaze. Supertite Fusion Tact is what I started with because it is non-toxic. Liquid Fusion is extremely popular and the CrystaLac Glaze has an amazing applicator that is right in the bottle which is very cool and really handy, and the glue works very well. It is more like an E6000 type glue, so you have some options depending on the route you want to go. If you go with the Supertite Fusion Tack or the Liquid Fusion, you'll need to put some in a needle nose glue applicator bottle before you start on your project.
Prepping Your Pen Barrel
To make your DIY Rhinestone pen, we need to prep and base coat it. I always put down a base paint for my rhinestone projects that is a similar color to the rhinestones that I'm using.
First thing you need to do is sand your surface. To do so I use a 220 grit sanding block, and you just wanna make sure that you're getting it ready to accept that glue. Afterwards you can then put down your base paint. I recommend using a primer paint, so either spray paint or something like the CrystaLac Paints that I use a lot of on my tumblers.
Tips For Rhinestone Application
Once your base primer paint dries, you are ready to apply your rhinestones to your pen. I recommend organizing your rhinestones and having them all face up. You will want to make sure that you're cleaning out the inside of your pen if you chose to paint on a base coat, otherwise it might be hard to get your pen back together.
When you start your very first layer of stones, take your time as this sets the foundation for the entire pen or project. Watch my full tutorial down below to see my full application process.
Pro Tip: You may notice that you have an awkward distance at the end of your pen barrel, and it would be okay to switch to a different sized stone to fit whatever space you have left.
I hope that you got a good idea on how to get started with your first Rhinestone DIY pen using a single color in the honeycomb pattern. In no time, you can try using a variety of colors and patterns!
If you are a craft lover and DIYer that loves to customize everything you are probably interested in tumblers too! Grab my freebie to get started.
Recommended Supplies
Stainless Steel Tumblers (discount code: alisoncrafts)
Glitzy Kreations Glitter (Discount Code: alison10)
Glitter Dipped Sips Glitter (Discount Code: alisoncrafts10)
Watch Full Tutorial on YouTube:


