Don’t Toss It! How to Redo a Tumbler Fail
We’ve all been there, you start a tumbler project and it just doesn’t turn out the way you had hoped. You can feel so frustrated and disappointed. But, here’s the thing: not every tumbler turns out the way you want it to. It’s okay if it’s not perfect, and it’s okay if you have to start over. That’s why today I’m going to show you how to strip your tumblers, specifically CrystaLac tumblers, using rubbing alcohol. It’s so easy!
Before we get started, I want to encourage you to consider a few things: Is there a way you can pivot your idea and change the design so you can still work with what you have? Can you turn it into a peekaboo tumbler, or a crackle tumbler, or do a Power Wash to cover up some of the things that you don’t like? If it is possible, try that.
If not, and you’re not too far along in the tumbler process with CrystaLac products, they’re really thin, so you really don’t need to take everything off before starting over. You can just sand it so it’s nice and smooth and then just repaint and start over. That is always an option.
Recommended Supplies
Stainless Steel Tumblers (discount code: alisoncrafts)
Glitzy Kreations Glitter (Discount Code: alison10)
Glitter Dipped Sips Glitter (Discount Code: alisoncrafts10)
What You’ll Need
There are multiple ways you can strip your tumblers, but this approach is an easy way and it also really minimizes the mess. All you need is a regular resealable gallon sized plastic bag (like a Ziploc bag), some socks, and 91% alcohol to be able to properly strip your tumblers.
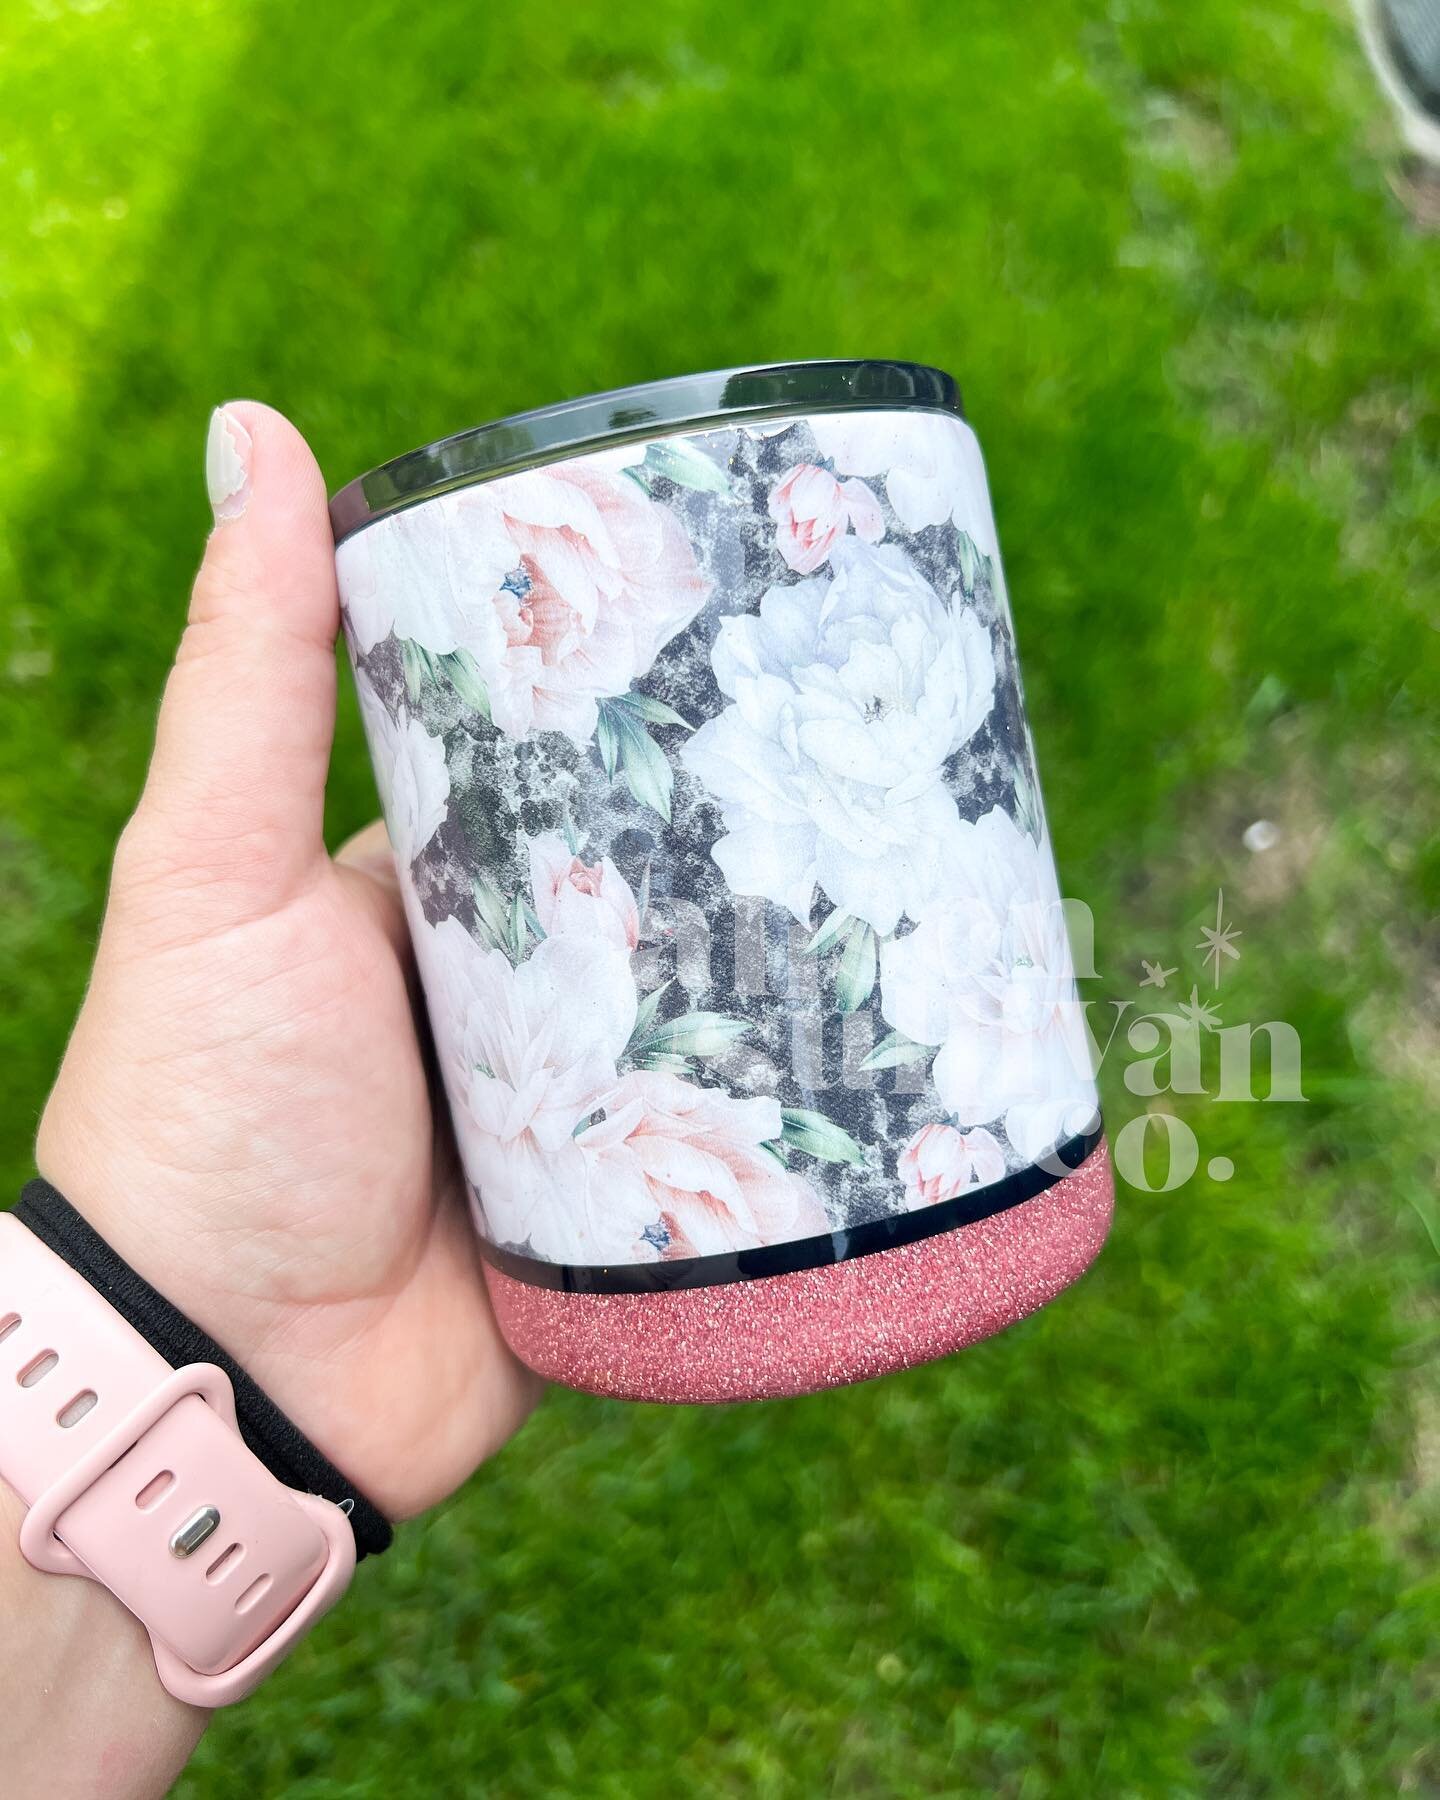
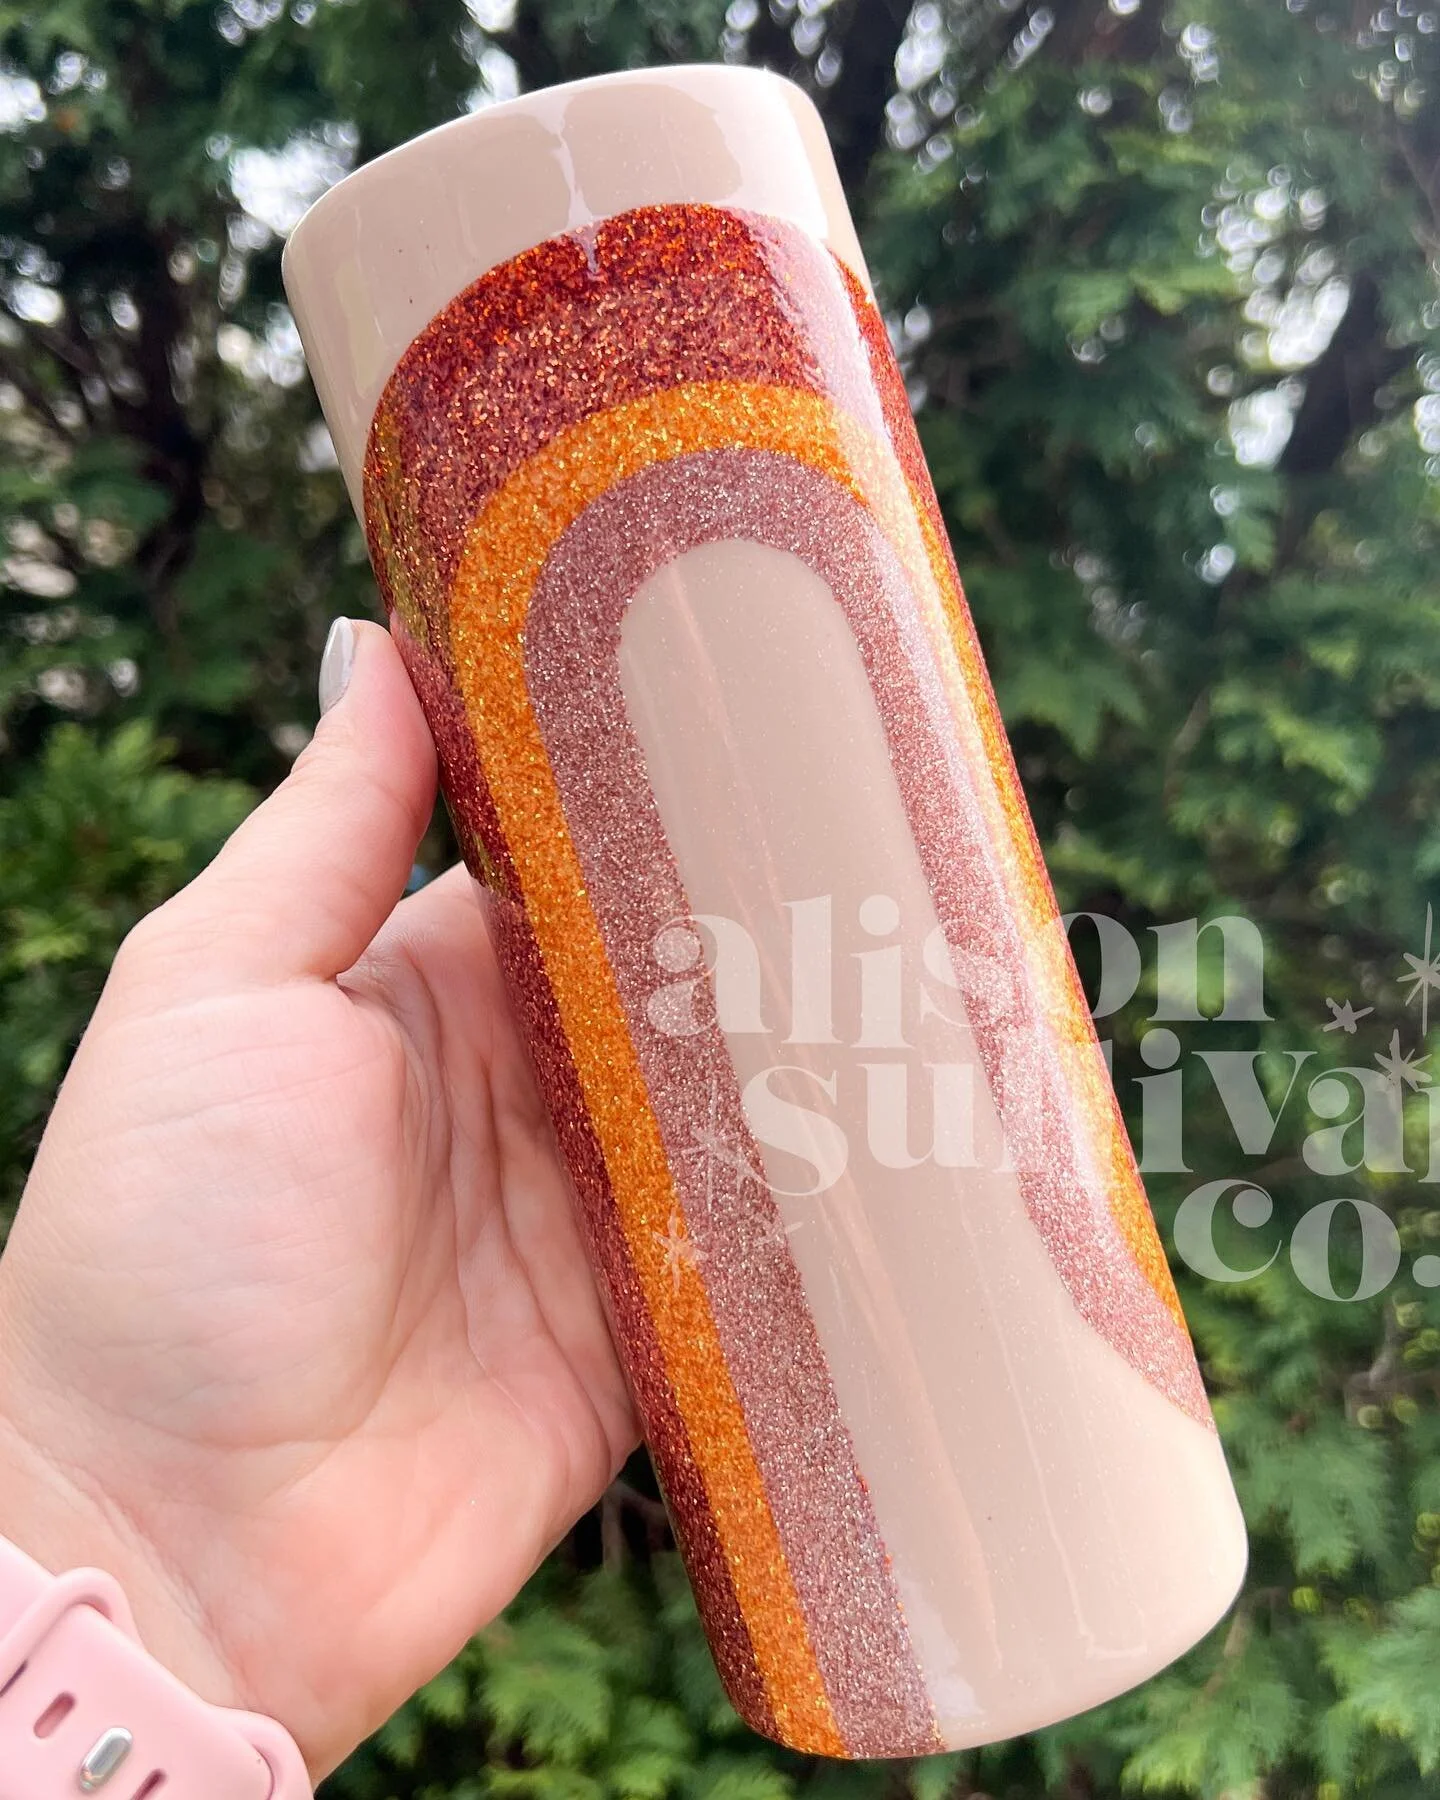
To test out this process, I tried this technique on two different tumblers at various stages of the tumbler making process. One tumbler has a glitter and a few coats of CrystaLac’s Grande Finale and the other one has many coats of CrystaLac’s Grande Finale and it’s been sitting for quite awhile. I wanted to test both to show you how it can look a little bit different depending on how many coats you have and how long the tumbler has been done for.
How To Strip Your Tumbler Using Rubbing Alcohol
Take your tumbler and insert it inside a sock, and then place the sock inside the resealable bag. Next you pour in the rubbing alcohol to get the whole sock completely saturated. I did not measure it out, but did apply enough for it to be fully covered. Once the socks were saturated, I sealed up the bag and let the tumblers sit for 24 hours.
The Results
At the 24 hour mark, the alcohol had definitely turned color and when I pulled the sock off, there was a bit of paint remaining on the tumbler. Although, it wasn’t a big deal as I used the sock to wipe off the top rim and the bottom of the tumbler using pressure with my hand to wipe away all of the paint that I could. It all came off really well, but it did take a little bit of pressure to wipe it away.
The base paint didn’t come off completely with this technique, but that’s okay. I did the best I could and then I took the cup to my utility sink and ended up just rinsing it off in my sink as well. You can also use a scraper and get everything off that you want, but when you strip your tumbler, it really doesn’t have to be perfect. It’s okay if there is paint left because you can give it a good sand. As long as it is smooth before you restart, you are good to go.
Mistakes Are Part of the Process
If you need help with the step by step making process of using CrystaLac for your tumblers, I’ve got a blog post that takes you through that process step by step. I hope this blog post has helped you to feel more confident about stripping your tumblers and starting over. Be sure to watch the full tutorial demonstration below.
Remember, it’s okay if it’s not perfect the first time around - just keep trying and you’ll get there!
Let’s Connect on Instagram