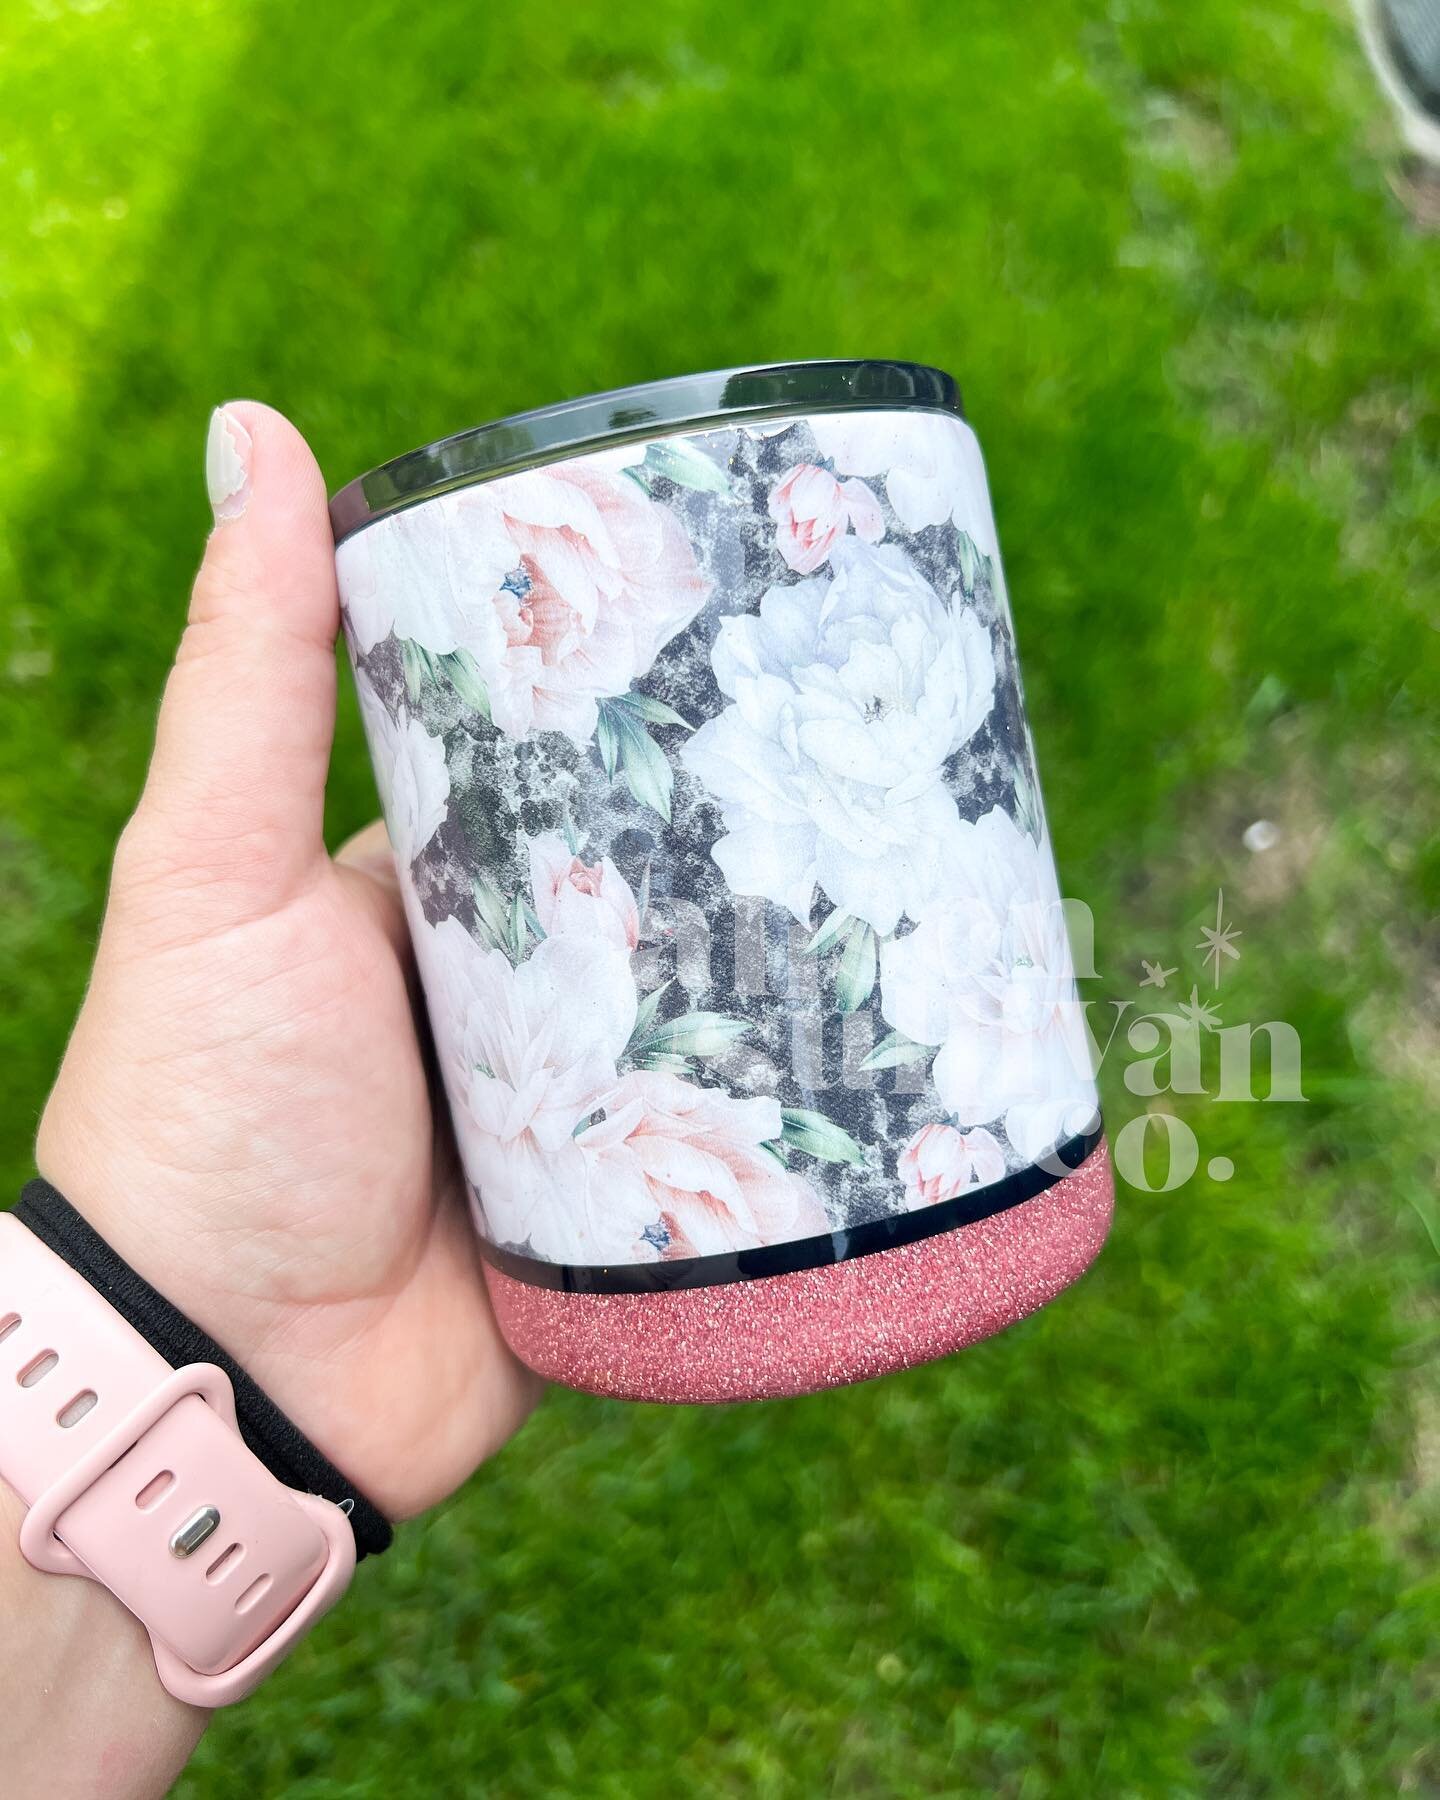
How to Sublimate Tumblers Using a TransPro Mug Press
With sublimation tumblers, you can create customizations and add variety to your product offerings. Offering these sublimation tumblers at a lower price point product might be an option for those of us who have a tumbler business. Today, I want to take you through the step-by-step of making a sublimation tumbler using a mug press.

Recommended Supplies
Stainless Steel Tumblers (discount code: alisoncrafts)
Glitzy Kreations Glitter (Discount Code: alison10)
Glitter Dipped Sips Glitter (Discount Code: alisoncrafts10)
Supplies Needed
When it comes to sublimation tumblers, you need tumblers that are specifically made for sublimation. In addition, you will need a sublimation printer and sublimation paper with sublimation ink. You also need heat tape and a mug press. The mug press I use and recommend is the Trans Pro Plus Mug Press from Pro World.
Sublimation Image Design and Sizing
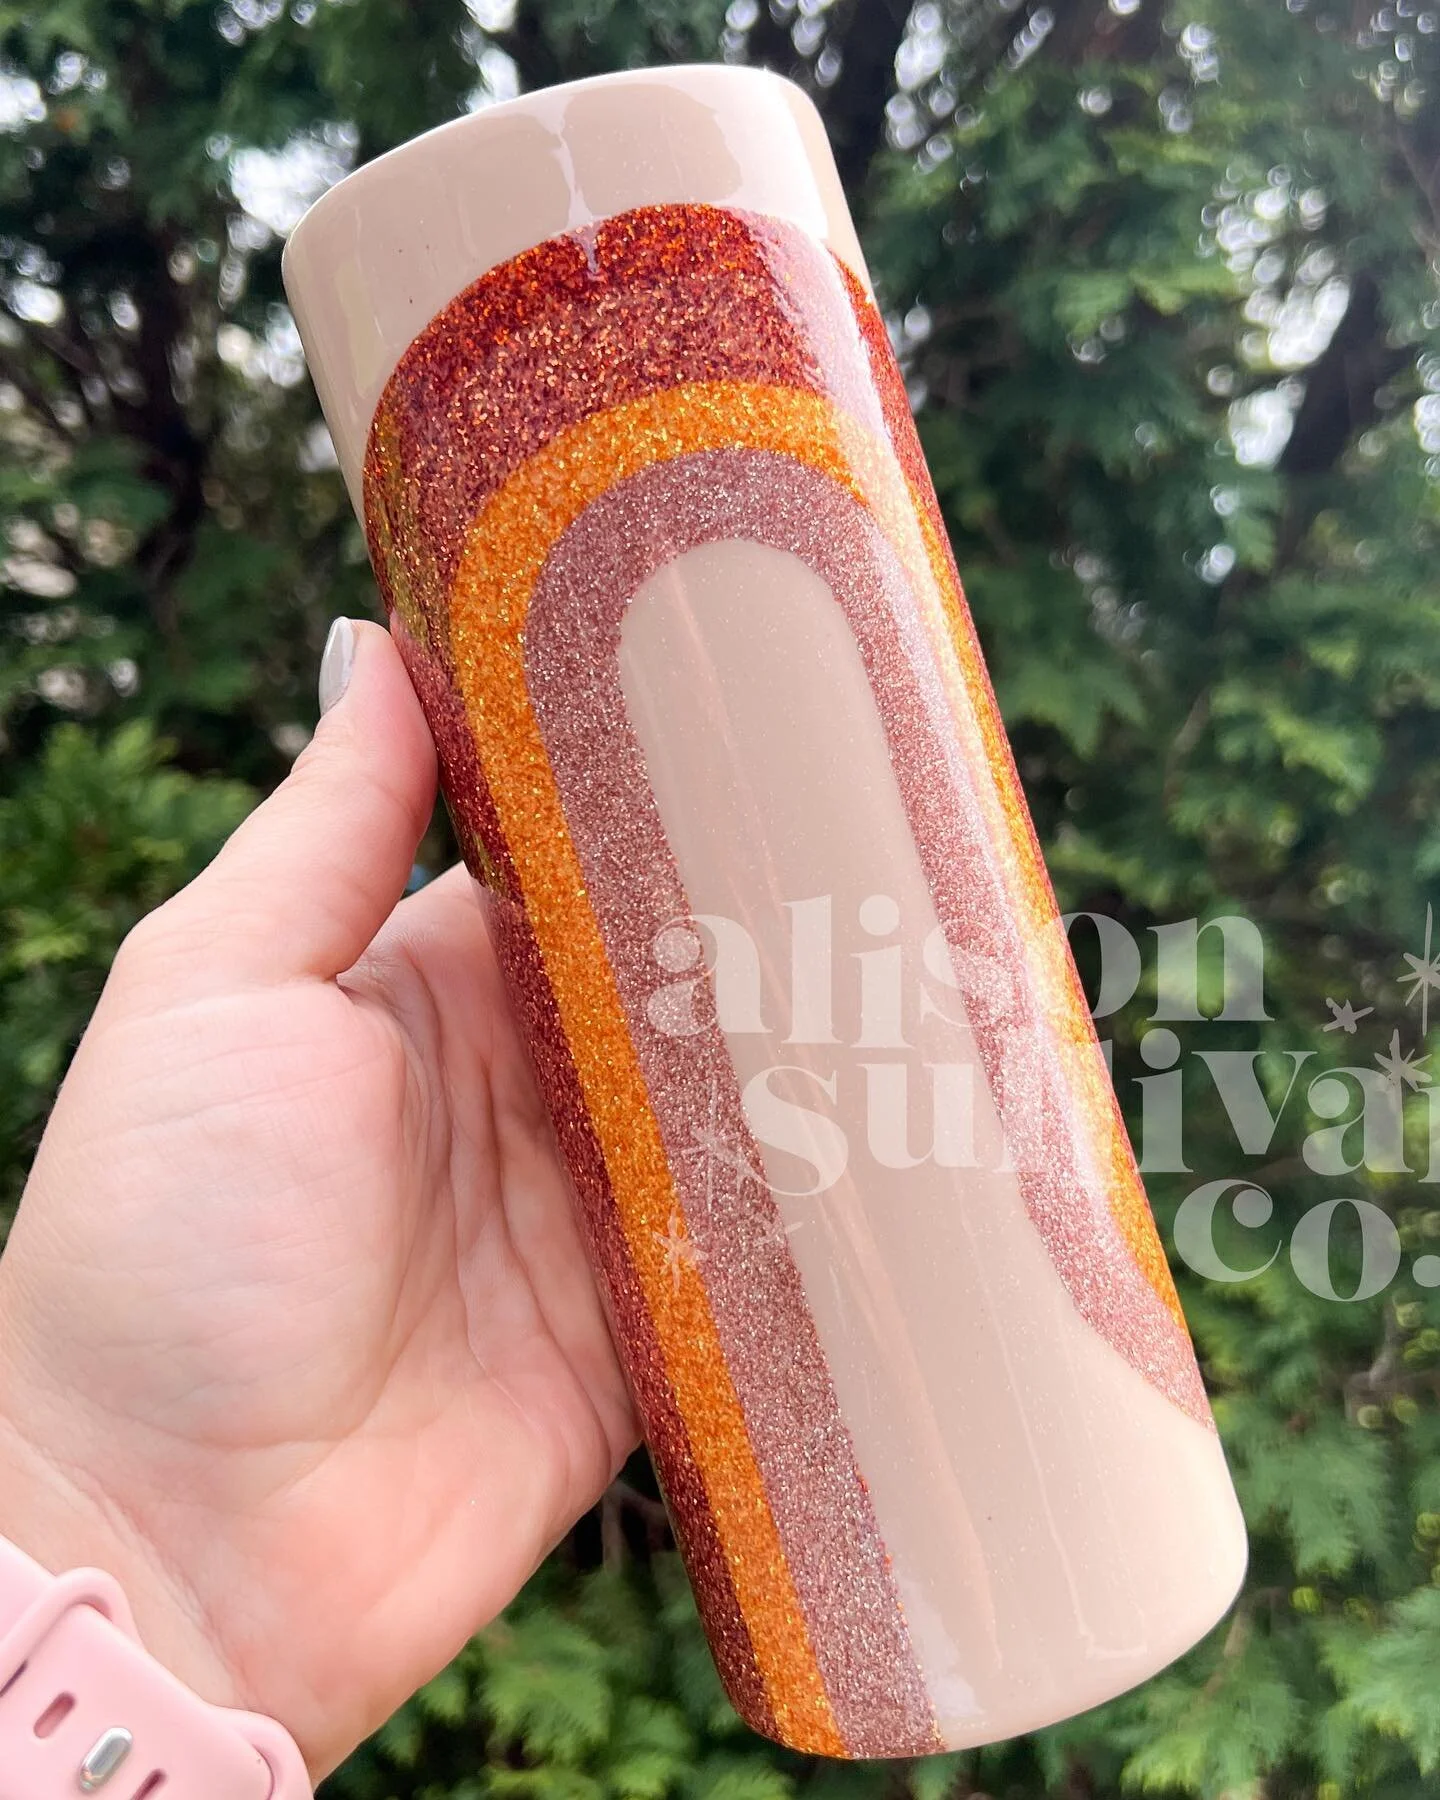
When it comes to sublimation designs on your tumblers, you can do a full wrap, put an image or a logo, create your own design, or purchase digital files. It’s important for your design to fit your tumbler correctly, you need to measure first, and then make a new canvas in your program of choice, like Adobe Illustrator, Canva, or Silhouette Studio, and resize it accordingly.
Applying Your Design
Once you have your design, you need to put your tumbler face down on your table and wrap your culmination paper around it as tight as possible. Then using heat resistant tape, secure the paper to the tumbler and create pressure. Make sure the seam where your design meets is not too noticeable. Once lined up correctly, take two pieces of thicker tape and run it down the seam.
Pressing Your Design
To ensure the design transfers and the colors are nice and vibrant, you want to put a piece of tape around the top rim and pull it tight before you lay it down. Once your paper is fully stuck to the tumbler, you’re ready to put it in the mug press. Put the tumbler in and press it for 15 seconds, then rotate it a quarter of the way and repeat that process four times.
After one minute, remove the tape and peel away the sublimation paper. You should see nice, vibrant, perfect colors underneath the paper. If the seam isn't perfect, don't worry! Just practice until you get the hang of it.
Sublimation tumblers are so fun and so easy to create. They are amazingly customizable for friends, family, or for your customers. If you’re interested in learning some new sublimation project ideas outside of tumblers, check out this blog post all about last minute sublimation gift ideas.
Watch Full Tutorial on YouTube:
Let’s Connect on Instagram